Click Here for my article on the rack rebuild from the Triumph Stag Club magazine..
August 2017:
I stripped and refurbushed the steering column, bearings were fine even the lock washer at the top, but rubber bushes were nowhere to be seen.
Getting the inner pipe into the outer with the new rubber bushes was a game, I chamfered the end of the inner a little and that helped. The
steering wheel was in pretty good shape, a polish and leather cleaner/feed to the rim was all that was needed.
*Click on images for bigger version*
Oct 2017:
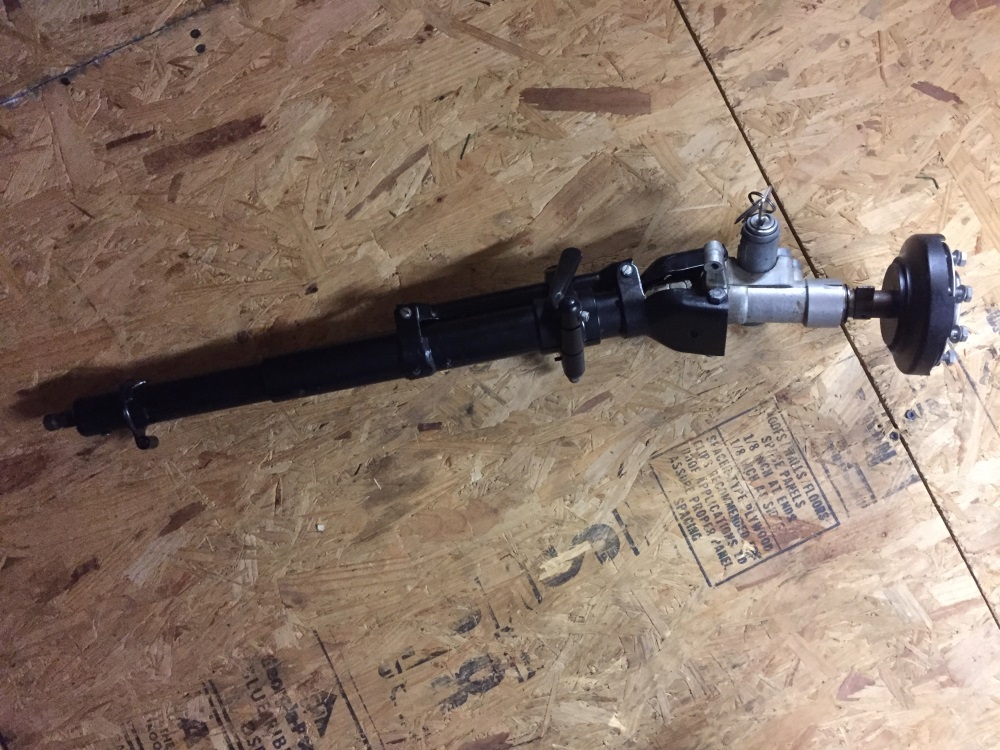
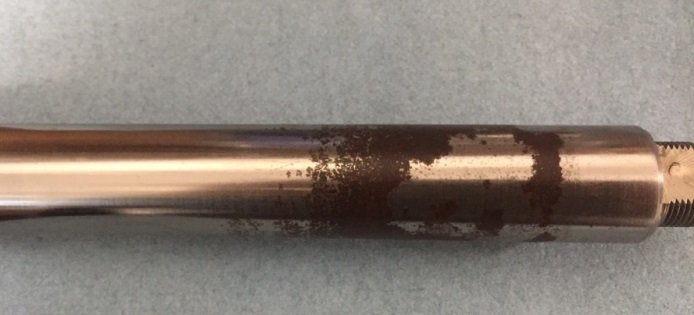
Opened up my spare steering rack, good practice for me as I have never done one before, it was not too difficult to do but unfortunately the
rack itself had quite a bit of rust on the nearside end which makes it unrealistic to rebuild. The rest of it is in fine shape so at a minimum
it will provide spares to use or sell. I will reassemble it roughly and replace the one on that car with it next week, hopefully that one is fine.
*Click on images for bigger version*
Oct 2017:
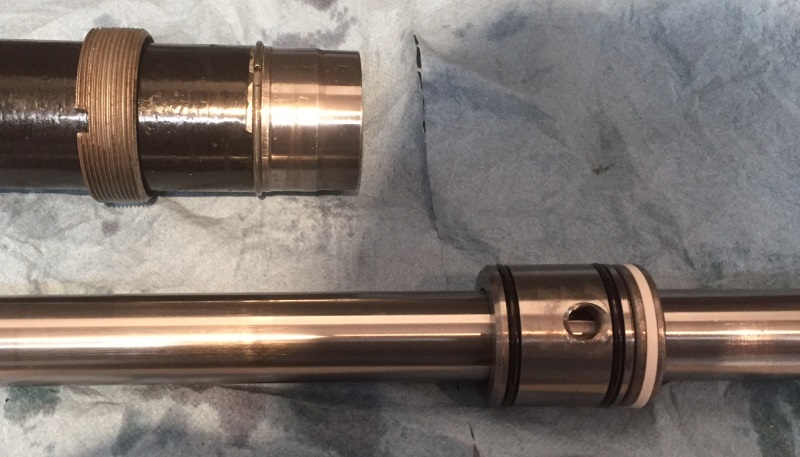
Opened up the other rack and it also had problems. It had been leaking and the grease was washed away so the rack housing was rough and worn,
Good news is the rack itself is OK so I can build a good one out of the two.Control units are same type with some detail differences, the later
torsion bar is thicker (less assistance) and has more return flow so I will use that, The control housing however was better on the early one so
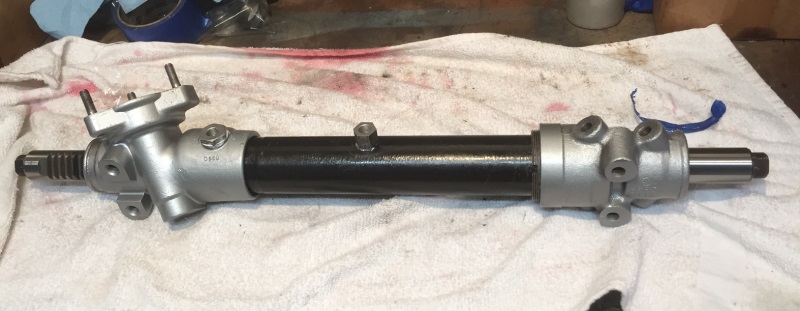
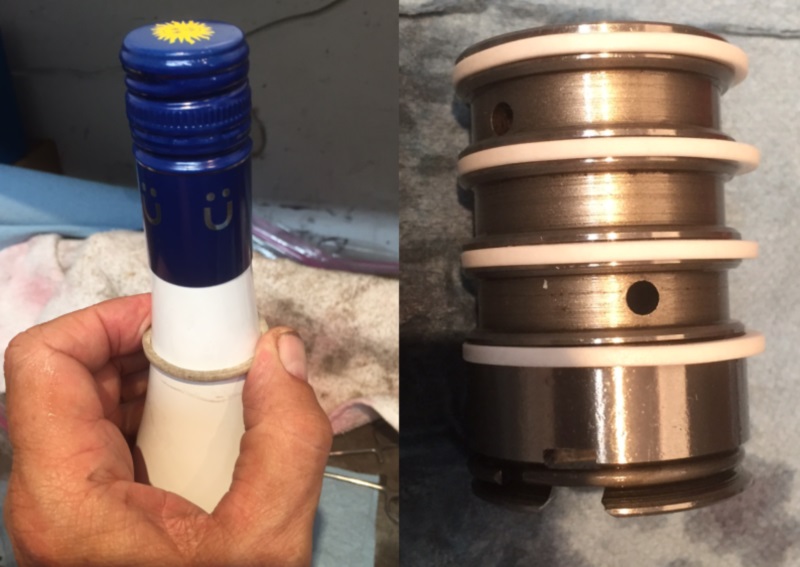
thats in! I reassembled the rack, with all new seals, this PTFE seal was easy to install. Whats left now is to reassemble the Control with its very
difficult PTFE seals.
*Click on images for bigger version*
Nov 2017:
Searched around and found a few sites that showed PTFE seals being installed in to Auto gearboxes, basically stretch, install and "resize" so I
threw them into a cup of boiling water and using a bottle of a cheeky white that had the perfect shape I was easily able to stretch them and get
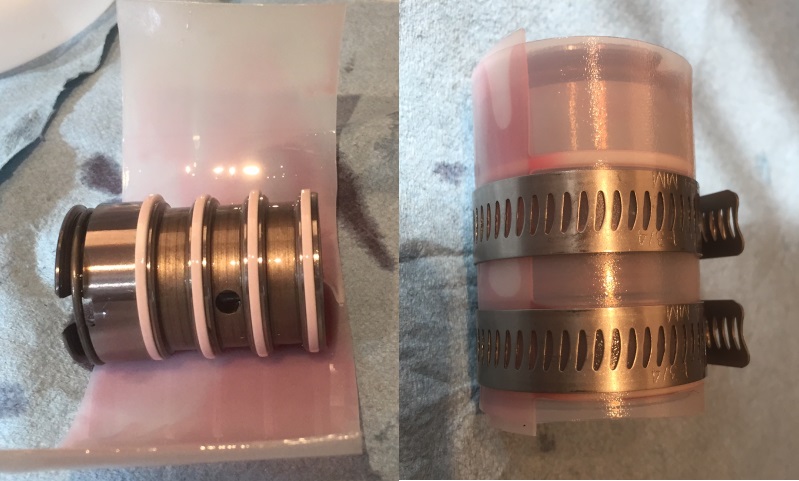
them installed. Once on they were of course too big so I cut up a gallon washer fluid refil bottle (soft enough to not dameage the ptfe and clear
enough to see what the seals were up to) and clamped them down with hose clamps, just backing them off a little from fully tightened. After a
couple of hours they were the proper size and went into the housing fairly easily.
*Click on images for bigger version*
July 2023-Rack Update..:
Every year after the car got on the road the Rack would start leaking into the boots, it started after a few months and got worse and worse and by
the end of the year I was draining the boots and refilling the PS pump every week or so. I resealed the rack and the same thing happened the next
year.. One thing I learned was that the oil from one side gaiter will be transferred to the other side by the air pipe that the rack has, so it
took a while to establish which side was leaking.. definitely the control side. The third time I thought about it a bit and came up with two theorys.
1. The main seals actually seal both on the inside, to the rack, and the outside, to the groove. So I carefully cleaned out the grooves that they
sit in with a dremmel and small dremmel scuffpad disk to ensure a clean sealing surface.
2. The control side was leaking, and that side relies on the Rack plunger to limit movement of the rack in the seal. I had set it correctly on
assembly (its tight. only 3-7 thou) However both times I had messed with it once it was in the car thinking it was causing stiffness of the rack.
I think that after a few months of excess movement the seal gets damaged and leaks.. This time I set it and left it alone!
On the aparent stiffness it was probably a lack of castor (castor increasing bushings cured that) along with the plastic washers in the control
that sit either side of the top seal. They seem to expand/contract with age and grip the control shaft too tightly causing friction, again the
scuff pad on a dremel opened those up a little to free it up.
Its been 8 months now and I have not lost a drop of fluid..
May 2018:
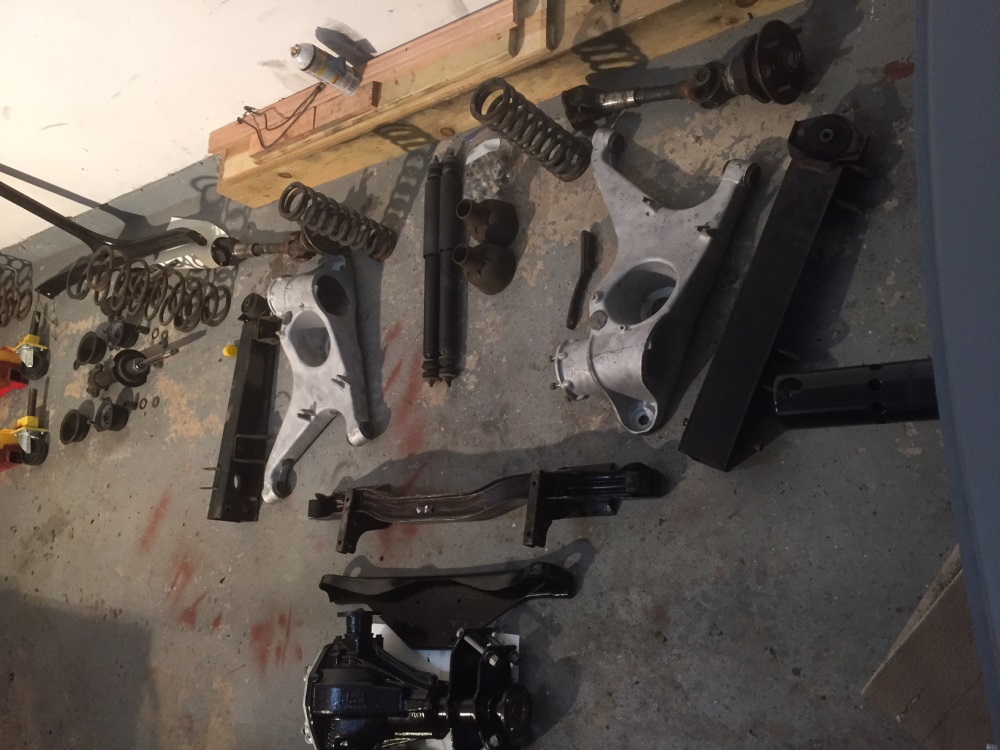
Before I raise the bodyshell onto the rotisserie the suspension was removed, it was quite a weight and without it I can easily lift the shell.
The suspension was all in good shape, most of the bushings were pretty much usable again but I will replace them anyway, some with Poly items.
Even the shocks seem to have been replaced recently and are a good quality item so I will probably keep them as spares. The whole lot was media
blasted and painted in Black/Silver ready for re-install. Both front stub axles looked a bit tired but the spares from the other car were in great
shape so they were used along with one of the front hubs and a front spring as one hub had the wheel studs (badly) welded in place and I'm not
sure why, and one spring was quite short. The diff seems to be in great shape, no leaks, noises or backlash so it was cleaned up, oil changed and
painted. Better yet I have another one that seems just as good in reserve!
*Click on images for bigger version*
Feb 2020:
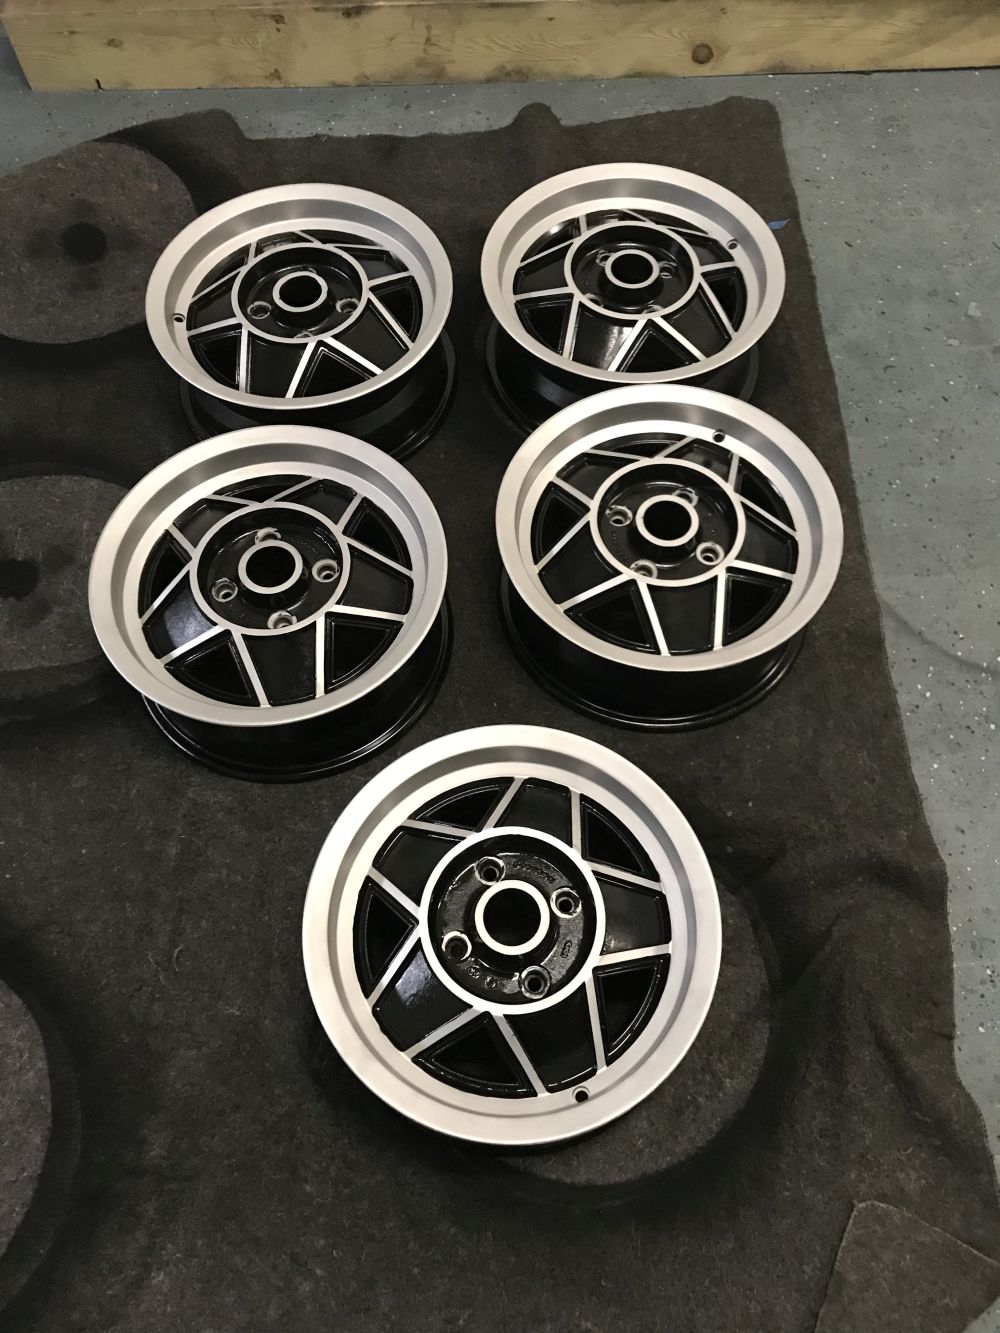
Finally able to pick them up after shoulder surgery so started on the wheels. I glass beaded them which cleaned up the bare alloy nicely.The black
areas were not coming off completely but I reson that if they are stuck that well then they are fine as a base. The whole wheel aside from the front
was painted with regular wheel paint then I used some black caliper paint to brush paint the black areas, tedious but I got better as it went on.
I decided that polishing them was not needed as I quite liked the "brushed" look that the glass beading gave plus some stories on how difficult
this alloy is to polish. I gave them a day or to to dry then covered them with a 2-pack clear.
*Click on images for bigger version*
June 2020:
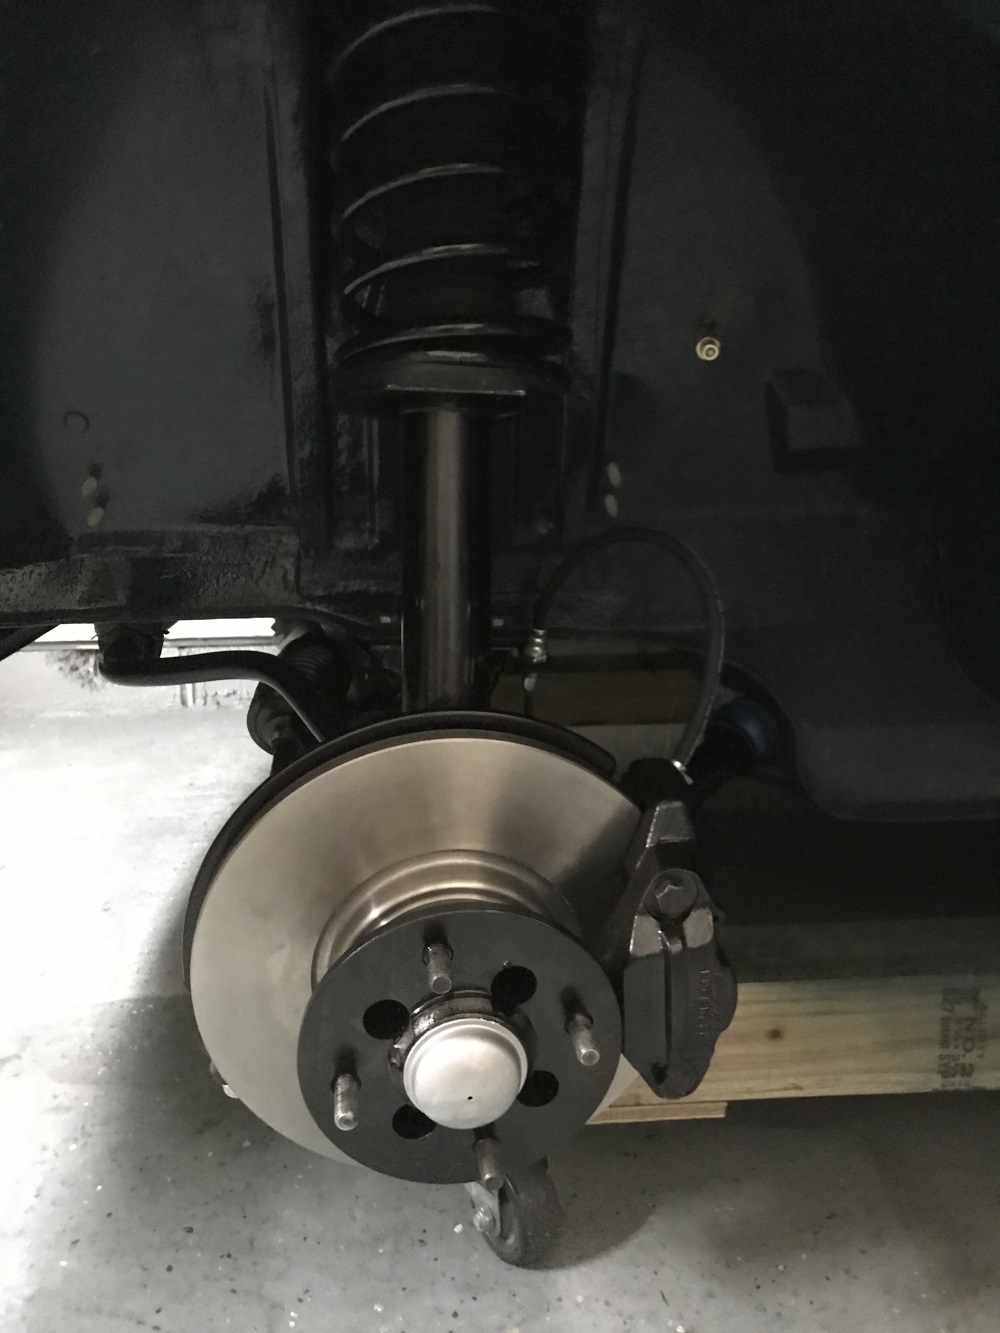
Front and rear suspension went in fine, I have used poly bushes in some places and not in others, I basically left any mounts to body in rubber
but used poly where there is movement. The brakes went in at the same time and brake lines were run Only challenge there was the caliper dust seal
retainer rings.. a bear to install. I used poly-armour coated steel lines which are really easy to form. The brakes bled OK , just needed to
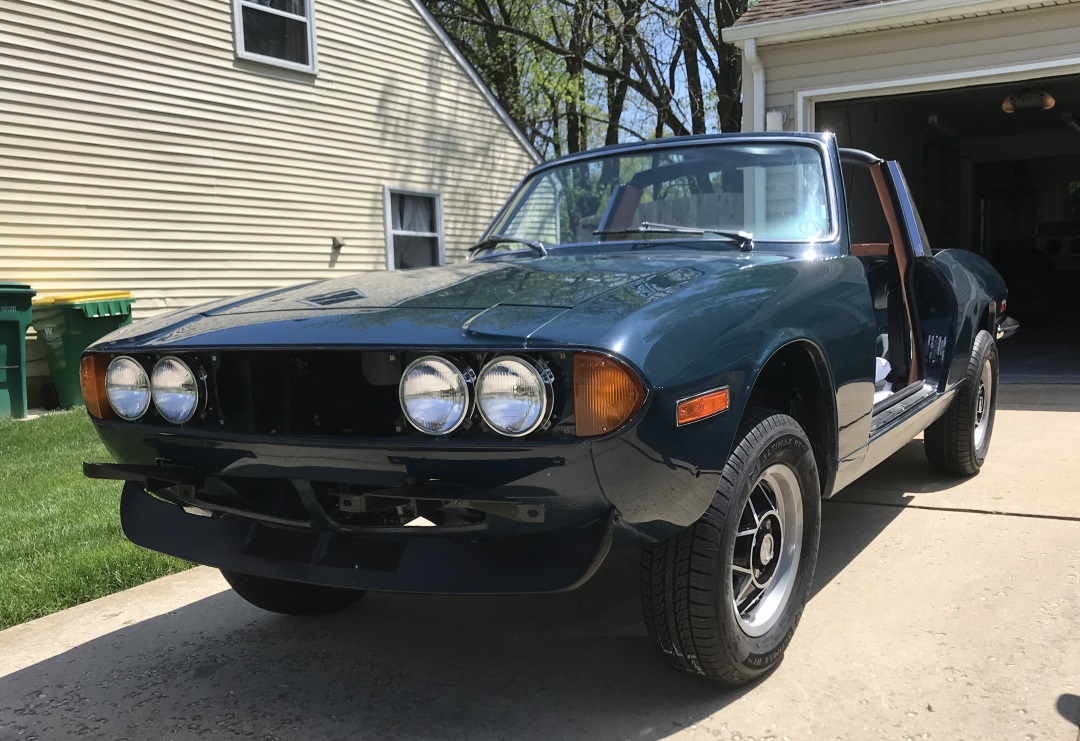
tighten a couple of connections and now I have a nice firm pedal. Pushed car outside for the first time in a couple of years, looking good, if a
bit high.. lots of stuff to bolt on yet!
*Click on images for bigger version*

August 2020:
The prop shaft and differential went in, along with the driveshafts once the engine was installed.. All looked OK but the diff has a little whine
at 60 mph (even when the wife is not in the car!) there is also quite a bit of "Triumph twitch" and a fair amount of clonking, I probably should
have opened it up! I have another Diff from the scrap car with less milage on it so this was lightly refurbished, with new shims and seals and I
will install that over the winter. Amazingly the inner driveshafts came apart easily without any kind of press, I was very fortunate there
apparently. It looks good and I am hoping its fine but if not I will refurbish the removed one properly. I am also seriously considering some CV
type driveshafts at the same time, although the twitching has improved now the grease has had time to get around the sliding shafts its still a
bit distracting.
November 2020:
After driving for a while, (around 800 miles actually) it was time to address the diff clunks and a whine which is really noticable when travelling
at around 60mph. The driveshafts had improved even more but were still a bit disconcerting. I decided to go with the CV jointed ones from CDD in the
UK and they were installed along with the reshimmed diff. I removed the diff but not the extension, not an awful job once the exhaust pipe is removed,
and was able to easily replace the bearing in the extension in-situ. Once installed a couple of test drives and the diff is fine, no clunks and no
whines at all. The driveshafts are wonderful, there isn't a hint of an unsettled rear end now no matter how much I push it into or out of corners,
so much more confidece inspiring.. Even though they are quite pricy I felt they were a worthwhile upgrade and the icing on the cake for this build,
plus I get new rear hubs and bearings which is always a plus.
Feb 2023:
I have to say that on my first drive 3 years ago I was pretty disappointed with the handling, so have spent a bit more time and money on sharpening
it up. I didn't expect it to handle like the mini turbo but.. Basic problem is the old power steering that can be a bit vague. I had already used
poly bushings and all was new so investigated more. I earlier went with a pair of CV shafts..(I would say not essential.. but nice if you can
afford them) Then even with all new standard shocks it just felt a bit "soft" so went KYB all round. I had used adjustables on the TR but along
with many others ended up on the softest setting, so didn't go there. The KYB'ssharpened things up a lot but still the steering was off. Next was
a set of caster adjusting drag link bushings, a cheap fix that improved the self centering and I then replaced the alreadysoft rack bushings with
some harder ones, along with an increase in toe in and 30psi all round. Drove it the other day and its almost there! Really chuckable and much more
secure on the road. However still a bit reluctant to center like a newer car. I suspect the strut top mountings are not great, one is nice and free
(maybe too free as I do get some thumping over very rough surfaces) and the other is stiff. Chris Witor sells some taper bearing versions that get
great reviews.. When is my Birthday??
Feb 2024:
My birthday has passed and nobody bought me the strut tops so I treated myself. I think I am finally there.